My journey of reinstalling Windows 11
 Andrei Surdu ·
 I recently switched from a 512GB SSD to a 1TB SSD. This meant I had to reinstall Windows 11. I don’t like doing this, but I had no choice this time.
As a programmer, I have thousands of files from different projects that I must transfer to the new SSD. Moving all of these to my new SSD is a huge and daunting task.
In this article, I’ll share what I did to set up my new Windows 11 system. I’ll tell you about the steps I took and why I made certain choices.
Even though I don’t enjoy reinstalling Windows, it did give me a chance to improve my setup. Here’s what I did to get my new Windows 11 working just how I like it.
Backup all data before migrating
Migrating data requires careful consideration of your specific needs. However, creating a comprehensive backup of your system is always advisable, as you may need unexpected files or information in the future.
In my case, I needed to back up the user directory, which includes folders like “Documents,” “Downloads,” and “Desktop,” “hosts” file, as well as application settings.
Additionally, due to my extensive use of WSL (Windows Subsystem for Linux) for daily work, I had to back up over 500,000 files from various projects.
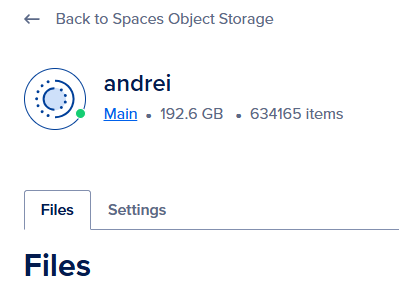
For the backup process, I opted to use rclone, a command-line tool similar to rsync. I chose DigitalOcean Spaces as my backup destination. You can learn more here: https://rclone.org/
The entire backup operation involved:
- Total items: 634,165
- Total size: 192.6 GB
- Duration: 2.5 hours
- Internet upload speed: ~250 Mbps
Quick Guide: Configure and Use rclone with DigitalOcean Spaces
- Install rclone:
- In WSL run:
curl https://rclone.org/install.sh | sudo bash
- In WSL run:
- Configure rclone:
rclone config- Choose
nfor new remote - Name:
do-spaces(or your preference) - Type:
s3 - Provider:
Other - env_auth:
false - access_key_id: [Your DO Spaces access key]
- secret_access_key: [Your DO Spaces secret key]
- region:
fra1 - endpoint:
fra1.digitaloceanspaces.com - location_constraint: [Leave blank]
- acl:
private - bucket_acl:
private - [Accept defaults for remaining options]
- Edit advanced config?
n - Confirm configuration:
y - Quit config:
q
- Choose
- Test configuration:
rclone lsd do-spaces: - Sync files (excluding node_modules):
rclone sync --exclude="**/node_modules/**" /path/to/local/folder do-spaces:space-name - Optimized sync for small files:
rclone sync --exclude="**/node_modules/**" --transfers=32 --checkers=64 --s3-chunk-size=1M /path/to/local/folder do-spaces:space-name - Sync from Spaces to local:
rclone sync --exclude="**/node_modules/**" do-spaces:space-name /path/to/local/folder
💡 Remember to replace do-spaces with your chosen remote name and space-name with your actual Space name.
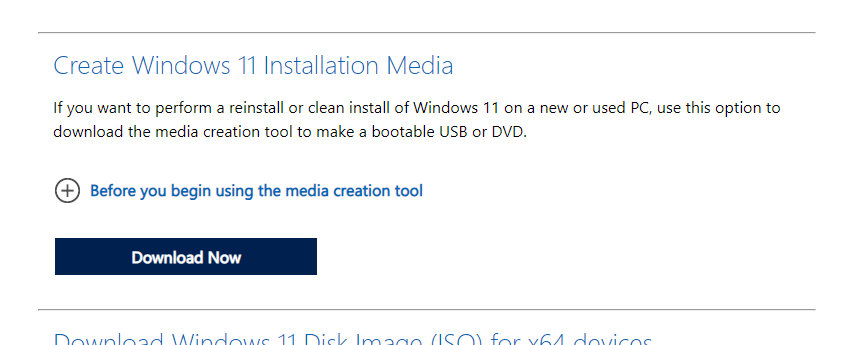
Creating a Bootable Windows Installation Drive
To begin the installation process, I downloaded the official Windows image from Microsoft’s website (https://www.microsoft.com/software-download/). I prepared a bootable USB drive using the “Create Windows 11 Installation Media” tool.
Initiating the Installation
I inserted the USB drive into the PC. Upon restarting the computer, I immediately pressed the “Esc” key to access the boot options menu. From this menu, I selected the USB drive as the boot device. I then followed the standard Windows installation prompts.
Unexpected Hurdle: Invisible SSD During Windows Installation
When I reached the drive selection screen during Windows installation, I encountered an issue: my newly installed Samsung 990 Pro SSD wasn’t appearing in the list of available drives.
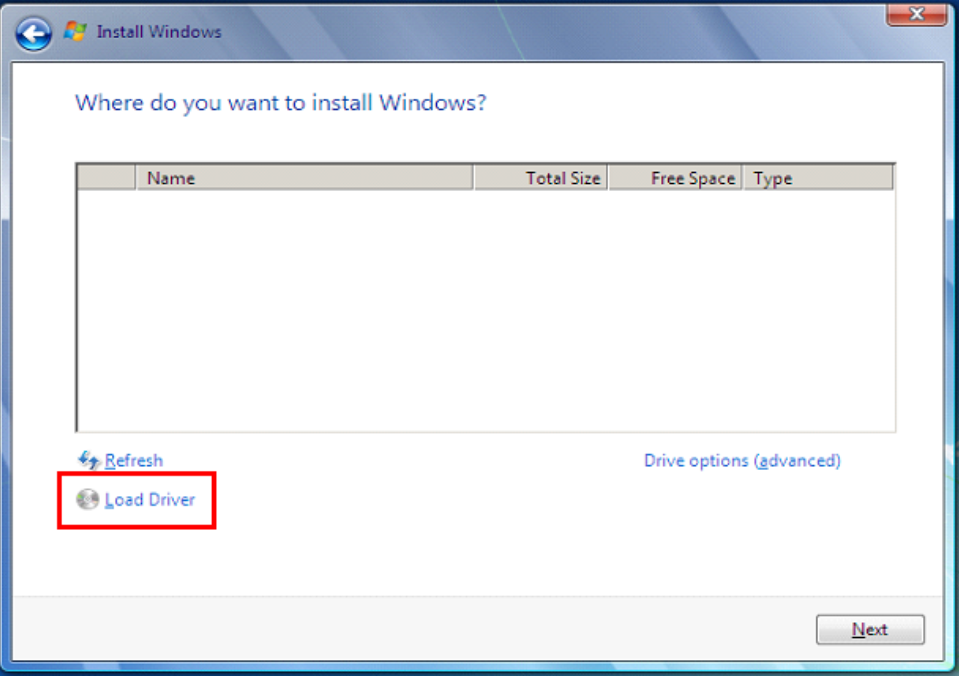
Initial attempts to refresh the drive list didn’t resolve the problem. I briefly worried about compatibility issues with my computer. However, the solution was to use the “Load driver” option rather than relying on automatic detection.
Solving the problem: The SSD drive is not visible.
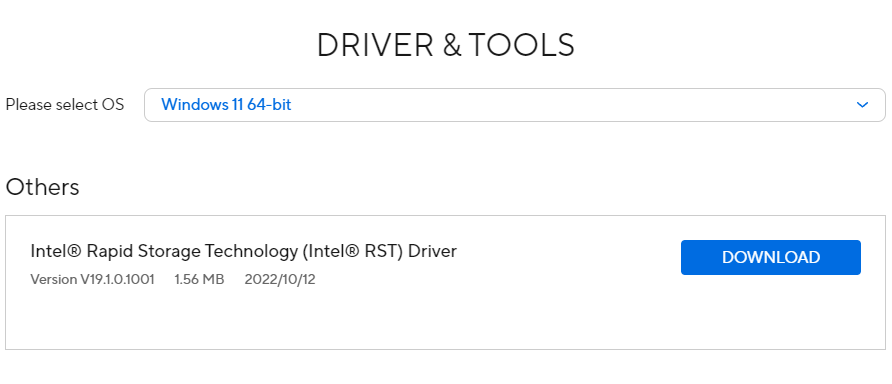
To make the SSD visible in that list, Windows requires the IRST driver. That’s true only for Intel-based computers. This driver can be downloaded from the manufacturer’s website (in my case ASUS laptop), or the Intel website. This driver allows loading the SSD and will make them visible in the list.
On the Intel website is noted: “Intel recommends that end users utilize driver updates provided by their system manufacturer/provider”. To avoid any compatibility issues, is better to download the driver from the motherboard/laptop manufacturer’s website.
In my case, I was using an ASUS TUF Dash F15 (FX516PR) and I downloaded it from here: IRST – Support (asus.com). It’s a generic driver for all ASUS laptops, which probably works with other brands as well.
After downloading, I extracted the files on the USB drive where the Windows installation was and restarted the installation. This time, I used “Load Driver” and selected the folder from my USB drive. Followed the instructions and in the end I got the SSD listed. The driver loaded the drive :))
TLDR:
1. Download the IRST driver
2. Extract the files to the USB drive containing the Windows installation media
3. During Windows installation, when prompted for drive selection, choose “Load Driver”
4. Browse to the extracted driver folder on your USB drive
5. Follow the on-screen instructions to install the driver
The first step after Windows install
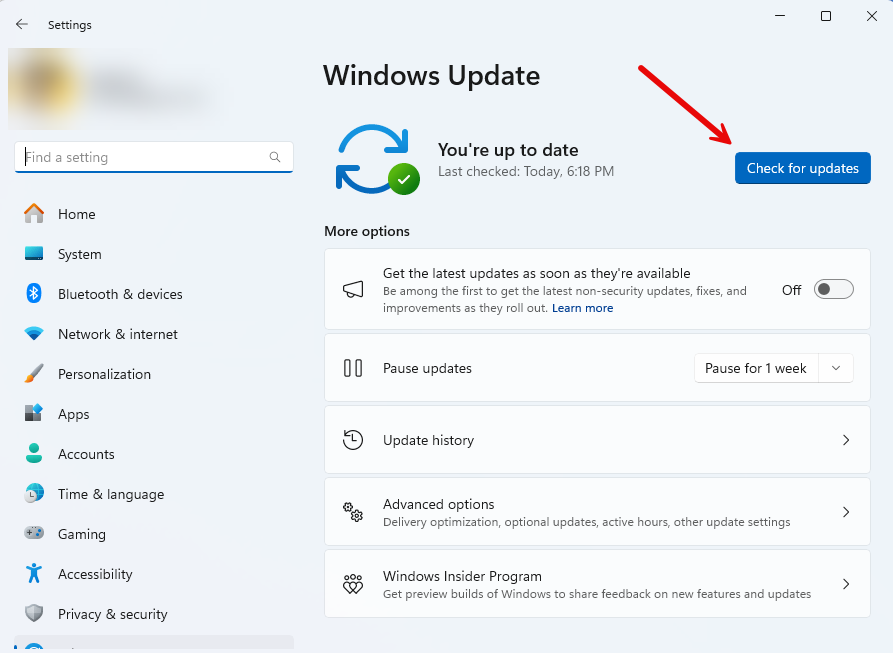
Update Windows:
- Open Windows Settings and navigate to “Windows Update”
- Click “Check for updates” and install all available updates
- Restart your computer if prompted
- Repeat this process until no new updates are available
Install missing drivers:
- Open Device Manager (right-click the Start menu and select “Device Manager”)
- Look for any devices with yellow exclamation marks, indicating missing drivers
- If drivers weren’t installed automatically, you have several options:
a. Right-click the device and select “Update driver”
b. Visit your computer manufacturer’s website to download specific drivers
c. Use Windows Update to search for drivers (in some cases)
💡Wifi devices, like printers and scanners are not shown in the “Device Manager” list. Make sure to download them from the manufacturer’s site.
Verify system stability:
- After updates and driver installations, use your computer for a while
- Check that all hardware components are functioning correctly
- Run basic tests on audio, video, network connectivity, and peripherals
Remember: It’s crucial to keep your system updated and all drivers current for optimal performance and security.
Migrate hosts
If you’ve made custom modifications to your hosts file, you’ll need to migrate this information to your new setup. The hosts file is located at:
C:\Windows\System32\drivers\etc\hosts
Review this file for any custom entries you may have added. These could include specific IP address mappings, local development domains, or ad-blocking rules. Copy these custom entries to preserve your network configurations and ensure continuity in your new environment.
Note: The hosts file is a system file, so you might need administrator privileges to access and modify it. Always back up the original file before making changes.
Setup the SSH
Open Windows PowerShell as an administrator and run the following commands, replacing [YourUsername] with your Windows username:
   # Remove inheritance from the SSH key file
   icacls C:\Users\[YourUsername]\.ssh\id_rsa /inheritance:r

   # Grant full access to the user for the SSH key file
   icacls C:\Users\[YourUsername]\.ssh\id_rsa /grant:r [YourUsername]:F

   # Set the SSH agent service to start automatically
   Set-Service -Name ssh-agent -StartupType Automatic

   # Start the SSH agent service
   Start-Service ssh-agent

   # Add your SSH key to the agent
   ssh-add C:\Users\[YourUsername]\.ssh\id_rsa

   # Verify the status of the SSH agent service
   Get-Service ssh-agent
Each command serves a specific purpose in setting up and securing your SSH configuration:
- The first two commands adjust file permissions to ensure your SSH key is secure.
- The next two commands configure and start the SSH agent service.
- The ssh-add command loads your SSH key into the agent.
- The final command checks that the SSH agent is running correctly.
Tweaks
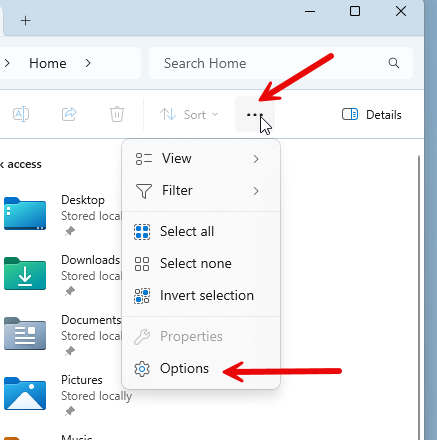
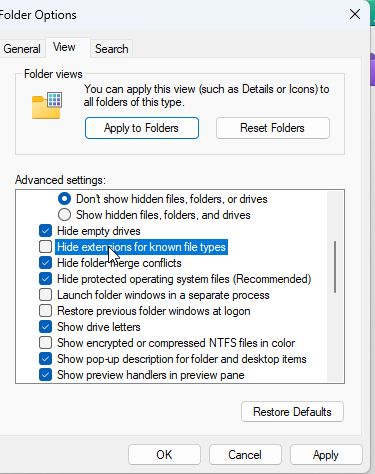
Always show file extensions
Go to File Explorer and from the top select “Options”, then go to “View” tag and deselect “Hide extensions for known file types”.
Install apps:
Web Browser
Install and configure your preferred browser. This time, I experimented with MS Edge, having previously used Chrome. Edge impressed me with its features and performance. However, I ultimately realized I wasn’t ready to switch. My multiple Google accounts, each with its own Chrome profile containing customized bookmarks and settings, along with seamless Google Workspace integration, made it difficult to transition away from Chrome.
- Google Chrome: https://www.google.com/chrome
- Brave: https://brave.com/download/
- Firefox: https://www.mozilla.org/en-US/firefox/all/
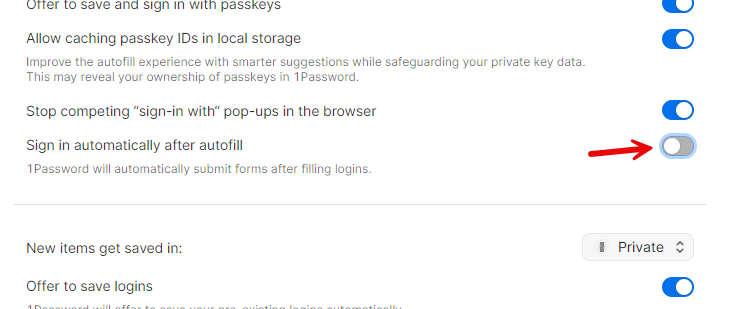
Password Manager
After installing the 1Password and browser extension, I went to the extension settings in each browser and each profile and disabled the automatic form submission after autofill. This is important because it sometimes will auto-submit incomplete forms.
- 1Password: https://1password.com/downloads/windows/
Communication
For all real-time communication at work, I exclusively rely on Slack. It’s the only application I use for this purpose in my professional environment. For personal communication, however, I utilize other apps such as WhatsApp and Viber.
- Slack: https://slack.com/downloads/windows
- WhatsApp: https://www.whatsapp.com/download?lang=en
- Viber: https://www.viber.com/en/download/
Software Development
For my primary development work, I depend on JetBrains products. While I do use VS Code, it’s mainly for quick edits rather than full project development.
- JetBrains Toolbox App💰: https://www.jetbrains.com/toolbox-app/
- VS Code: https://code.visualstudio.com/docs/setup/windows
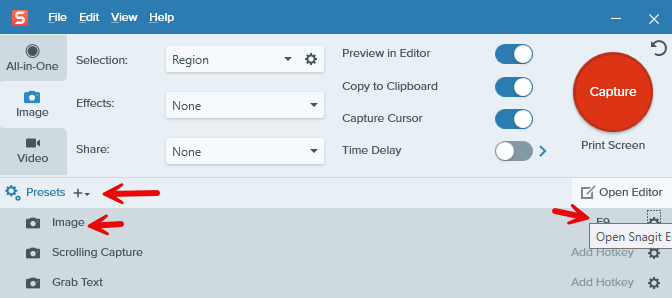
Screenshots
This is my go-to screenshot software. It’s become an essential tool in my workflow, offering exactly what I need for capturing and sharing screen images. Although Windows includes a built-in screenshot tool, it’s quite basic. In contrast, Snagit is superior, providing more advanced features that better suit my needs.
In Snagit, I prefer to launch screenshot capture with the “F9” key. To do this, I must create a new preset in the capture menu:
Clipboard
I use the built-in clipboard manager from Windows. However, if you don’t like it, you can use something open-source like CopyQ.
- Enable the built-in: https://support.microsoft.com/en-us/windows/clipboard…
- CopyQ: https://hluk.github.io/CopyQ/
File archiver
For managing archives, I prefer 7zip over the built-in Windows Zip utility. This choice is driven by 7zip’s broader feature set and its support for a wider range of file formats.
- 7Zip: https://www.7-zip.org/
winget install -e --id 7zip.7zipPowerToys
Microsoft PowerToys is a set of utilities for power users to tune and streamline their Windows experience for greater productivity.
I always make sure to install PowerToys on my Windows setup. It’s a collection of utilities that significantly enhances my productivity and customizes my Windows experience.
Info: https://learn.microsoft.com/en-us/windows/powertoys/install
winget install Microsoft.PowerToys --source winget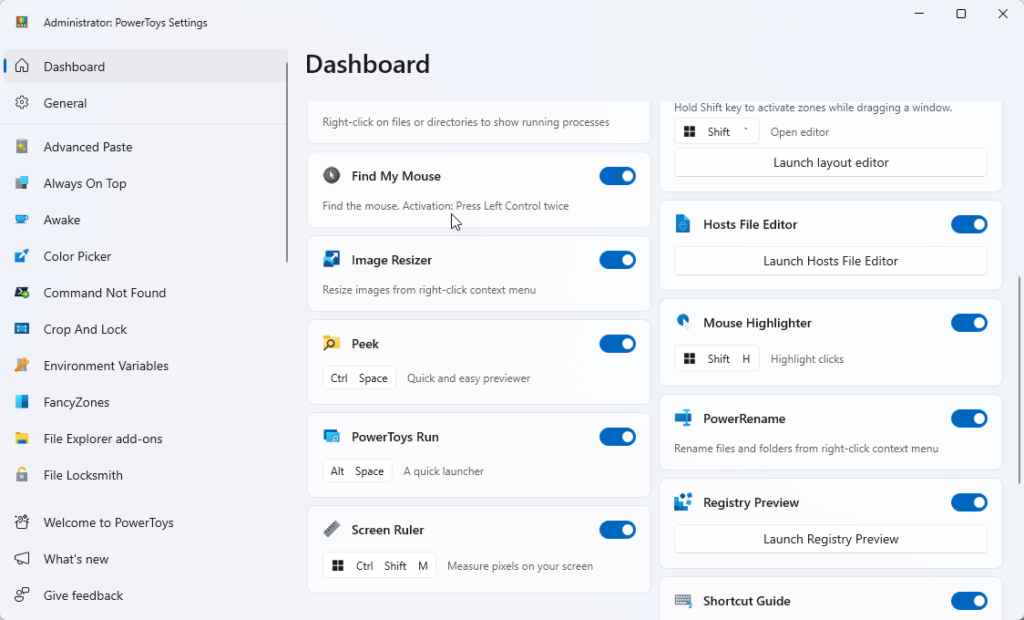
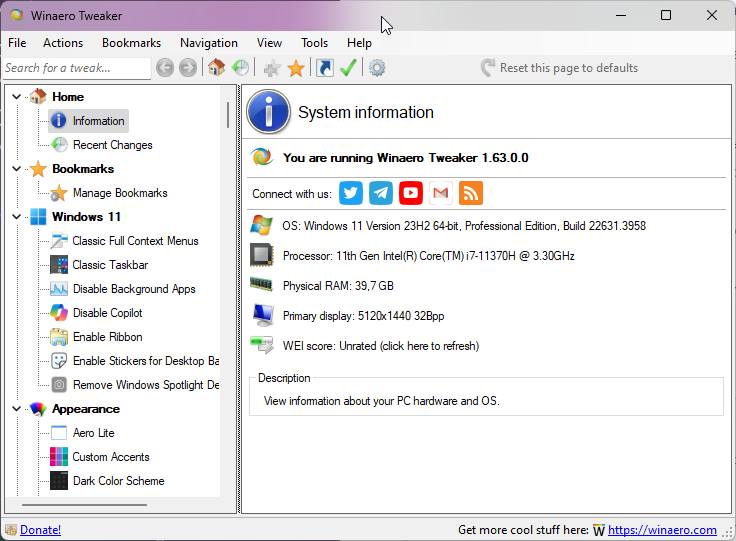
Winaero Tweaker
A free app that lets you adjust (i.e. tweak) hidden secret settings that Microsoft does not let you adjust from the user interface. In addition, it allows you to add extra value to existing Windows apps and tools with advanced context menus, options, and handy commands.
Download: https://winaero.com/winaero-tweaker/#download
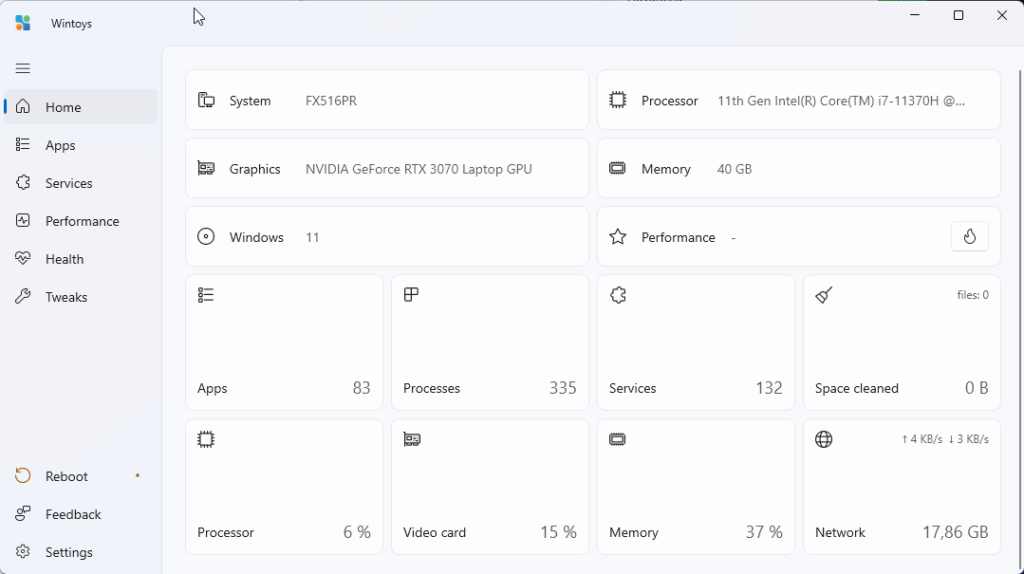
WinToys
Another tool in the same vein as the aforementioned software, this utility empowers users to personalize various aspects of the Windows operating system. Like its counterparts, it provides a range of customization options, allowing individuals to tailor their Windows experience to their preferences.
This software enables users to modify and enhance different elements of the Windows interface and functionality, offering a way to make the operating system more aligned with individual needs and tastes.
Install from Store: https://apps.microsoft.com/detail/9p8ltpgcbzxd
Nomacs
A free, open-source image viewer, which supports multiple platforms. You can use it for viewing all common image formats including RAW and PSD images.
Download: https://nomacs.org/
VLC Player
VLC is a free and open-source cross-platform multimedia player and framework that plays most multimedia files as well as DVDs, Audio CDs, VCDs, and various streaming protocols.
It’s much better than the default Windows Media Player.
- Download: https://www.videolan.org/vlc/download-windows.html
- Install from Store: https://apps.microsoft.com/detail/xpdm1zw6815mqm
Spotify
- Download: https://www.spotify.com/de-en/download/other/
- Install from Store: https://apps.microsoft.com/detail/9ncbcszsjrsb
Microsoft Phone Link
Connect iPhone or Android phone to computer.
⚠️I used this on my old system, however on this one it failed to connect and after sever tries I gave up. Probably will try to fix it, but have no time right now.
Info: https://www.microsoft.com/en-us/windows/sync-across-your-devices
Microsoft Office
While Microsoft actively promotes its Office 365 subscription model, I have a lifetime license of Microsoft Office Home & Business 2019. Despite Microsoft’s push towards subscription-based services, I find this traditional licensing approach suits my needs. I don’t use the software frequently, but when I do, having a one-time purchase license works well for my occasional usage patterns. This version provides me with the essential Office applications without the recurring costs associated with the subscription model.
If you have a valid key, download it from: https://setup.office.com/
Image & Vector Editor
Adobe products are great, but their monthly subscription is too expensive for me. I only use the software once in a while, so paying that much every month doesn’t make sense for my needs. This time I switched to Affinity products. Can’t say too much about them right now, but the 6 month trial will allow me to decide if they are worth the buy. The good news is that they don’t ask for a subscription.
Download Affinity: https://affinity.serif.com/
NAPS2
An amazing free and open-source scanner utility. It can scan with devices from Canon, Brother, HP, Epson, Fujitsu, and more. Then save to PDF, TIFF, JPEG, or PNG with a single click.
Download: https://www.naps2.com/
FileZilla
For basic server work, like quick file edits, I prefer to use FileZilla.
Download: https://filezilla-project.org/download.php?type=client
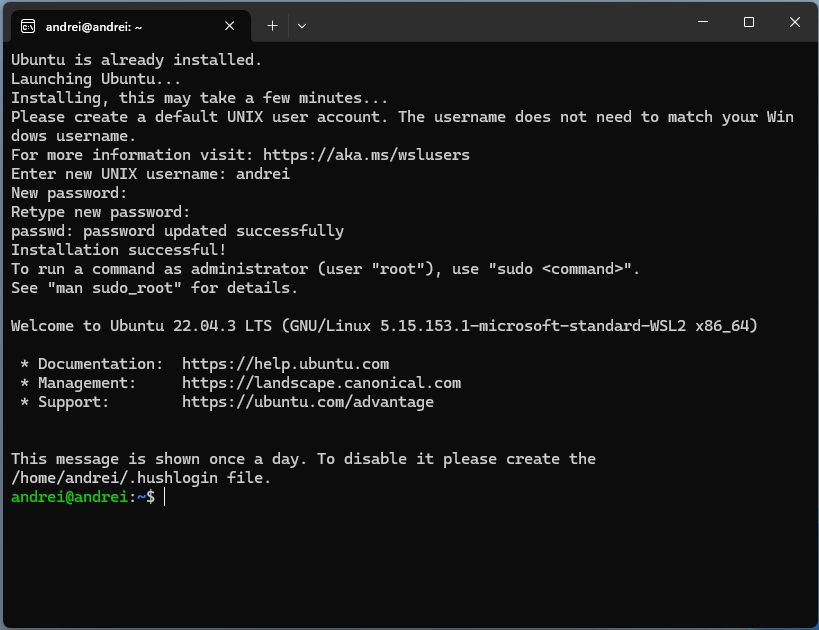
WSL
All of my daily work depends heavily on the Windows Subsystem for Linux (WSL). Open the PowerShell as an administrator and run the following:
WSL docs: https://learn.microsoft.com/en-us/windows/wsl/install
wsl.exe --installAfter running these commands, you’ll be prompted to reboot the system. That means you have to restart the computer. Upon restart, the terminal will pop up and ask for a Linux username and password. Set them up and you’re done.
To set WSL as the default profile in Windows Terminal:
- Open Windows Terminal
- Access the Terminal Settings
- In the left sidebar, select “Startup”
- Under “Default Profile”, choose “Ubuntu”
- Save your changes
This configuration ensures that your WSL Ubuntu environment launches automatically when you open Windows Terminal.
Now it’s time to copy the .ssh folder from my Windows home to WSL home. Go to the Ubuntu terminal and run the following:
cd ~
rsync -avc /mnt/c/Users/[YourUsername]/.ssh ./
sudo chmod 600 .ssh/id_rsa
Note: Make sure you replaced [YourUsername]
♾️At this step, I’m going to use rclone and get all my projects back to WSL from DigitalOcean Spaces.
#Install rclone on this new system as I did on the previous:
curl https://rclone.org/install.sh | sudo bash

#Configure the DO Spaces again:
rclone config

#Ready⬇️

#List first level files
rclone ls --max-depth 1 do-spaces:space-name/folder-name

#List first level directories
rclone lsd --max-depth 1 do-spaces:space-name/folder-name

#Now that I have found what I need, I can sync back
#Sync to current folder a folder from DO Spaces:
rclone sync --progress --transfers=32 --checkers=64 do-spaces:space-name/folder-name ./local/path/folder-name
💡 Remember to replace do-spaces with your chosen remote name and space-name with your actual
The download duration was almost 4 hours. Surprisingly slower than upload.
NVM
It’s a great script that allows to use multiple NodeJS versions. Follow the instructions on the official site: https://github.com/nvm-sh/nvm
curl -o- https://raw.githubusercontent.com/nvm-sh/nvm/v0.40.0/install.sh | bashGlobal NPM Packages:
I have some npm packages that I install globally
npm i -g tagy
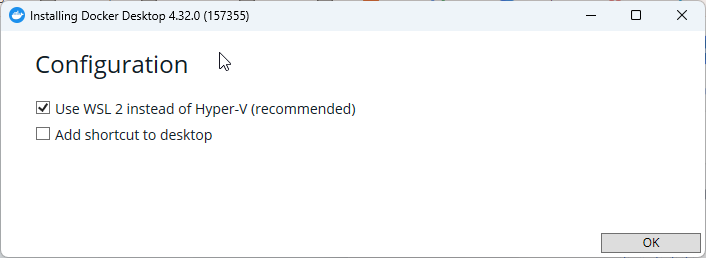
npm i -g wpdockDocker Desktop
When installing it, make sure to select the WSL 2 usage. It’ll run much better than Hyper-V.
Download: https://www.docker.com/products/docker-desktop/
😍 Now, I must be able to start my projects from WSL.
Last word
Reinstalling Windows after changing my SSD was quite the experience. It came with some challenges but ended up being very rewarding. Starting with some hesitation, I now enjoy a smooth, fast system. If you’re thinking about reinstalling Windows after upgrading your hardware, go for it—it could be just what your computer needs. Enjoy a fresh start!
Comments
Share your thoughts and join the conversation
No comments yet
Be the first to share your thoughts!
Failed to load comments
Please try refreshing the page
Leave a Comment