Reliable WP Cron for Local WordPress Development
 Andrei Surdu ·
 I work every day with WordPress, and when developing solutions in a local environment, I need a reliable WP-Cron to always run in the background. I created a script that simplifies triggering WP-Cron jobs, offering flexibility with options like specifying the URL, port number, interval, and the ability to run tasks in the background. Additionally, this script allows for easy management of these processes, ensuring a seamless and efficient development workflow.
In this article, I’ll walk you through the creation and implementation of a custom WP-Cron Bash script tailored for local development environments. This script not only simplifies the process of triggering WP-Cron jobs but also provides flexibility with various options such as specifying the URL, port number, interval, and the ability to run tasks in the background. Additionally, I’ll explore how to manage these processes effectively, ensuring your local development environment runs seamlessly.
By the end of this guide, you’ll have a powerful tool in your development arsenal, enhancing your workflow and allowing you to focus more on building and refining your WordPress projects. Let’s dive in and start optimizing your WordPress development with this custom WP-Cron Bash script.
Creating the Custom WP-Cron Bash Script
To begin, I’ll create a versatile Bash script named wpcron.sh. This script includes several options to tailor the cron execution to your specific needs, including running the cron jobs in the background, using HTTPS, and killing all running cron processes. Here’s the detailed script:
#!/bin/bash
wpcron() {
    # Function to display usage
    usage() {
        echo "Usage: wpcron [-u url] [-p port] [-i interval] [-b] [-k] [-s] [-h]"
        echo "  -u url       The base URL (default: localhost)"
        echo "  -p port      The port number (default: none)"
        echo "  -i interval  The interval between pings in seconds (default: 10)"
        echo "  -b           Run in background"
        echo "  -k           Kill all wpcron processes running in the background"
        echo "  -s           Use HTTPS instead of HTTP"
        echo "  -h           Display this help message"
    }

    # Default values
    url="localhost"
    port=""
    interval=10
    background=false
    kill_processes=false
    use_https=false

    # Parse command line arguments
    while getopts "u:p:i:bksh" opt; do
        case $opt in
            u) url=$OPTARG ;;
            p) port=$OPTARG ;;
            i) interval=$OPTARG ;;
            b) background=true ;;
            k) kill_processes=true ;;
            s) use_https=true ;;
            h) usage; return 0 ;;
            *) usage; return 1 ;;
        esac
    done

    # Function to log messages
    log_message() {
        message=$1
        echo "$message"
    }

    # Function to kill all wpcron processes
    kill_wpcron() {
        pkill -f "wpcron_task"
        log_message "All wpcron processes have been killed."
    }

    # Construct the full URL
    protocol="http"
    if $use_https; then
        protocol="https"
    fi

    if [ -n "$port" ]; then
        full_url="$protocol://$url:$port/wp-cron.php"
    else
        full_url="$protocol://$url/wp-cron.php"
    fi

    # Start the cron process
    wpcron_task() {
        log_message "Cron started"
        count=0

        while true; do
            count=$((count+1))
            wget -qO- "$full_url" &> /dev/null
            log_message " ---- Cron executed $count times on URL: $full_url"
            sleep "$interval"
        done
    }

    # Check if the kill option is set
    if $kill_processes; then
        kill_wpcron
        exit 0
    fi

    # Run the wpcron_task function
    if $background; then
        wpcron_task &
        log_message "Cron is running in the background. PID: $!"
    else
        wpcron_task
    fi
}
Implementing the Script in Your Environment
To make this script accessible as a command in your terminal, follow these steps:
Save the Script:
Save the script in a file named wpcron.sh in your home directory or any preferred location.
Make the Script Executable:
Make the script executable by running the following command:
chmod +x ~/wpcron.sh
Source the Script in Your .bashrc File:
Open your .bashrc file in a text editor and add the following line to source your script:
source ~/wpcron.sh
Reload your .bashrc file to apply the changes:
source ~/.bashrc
Utilizing the WP-Cron Script
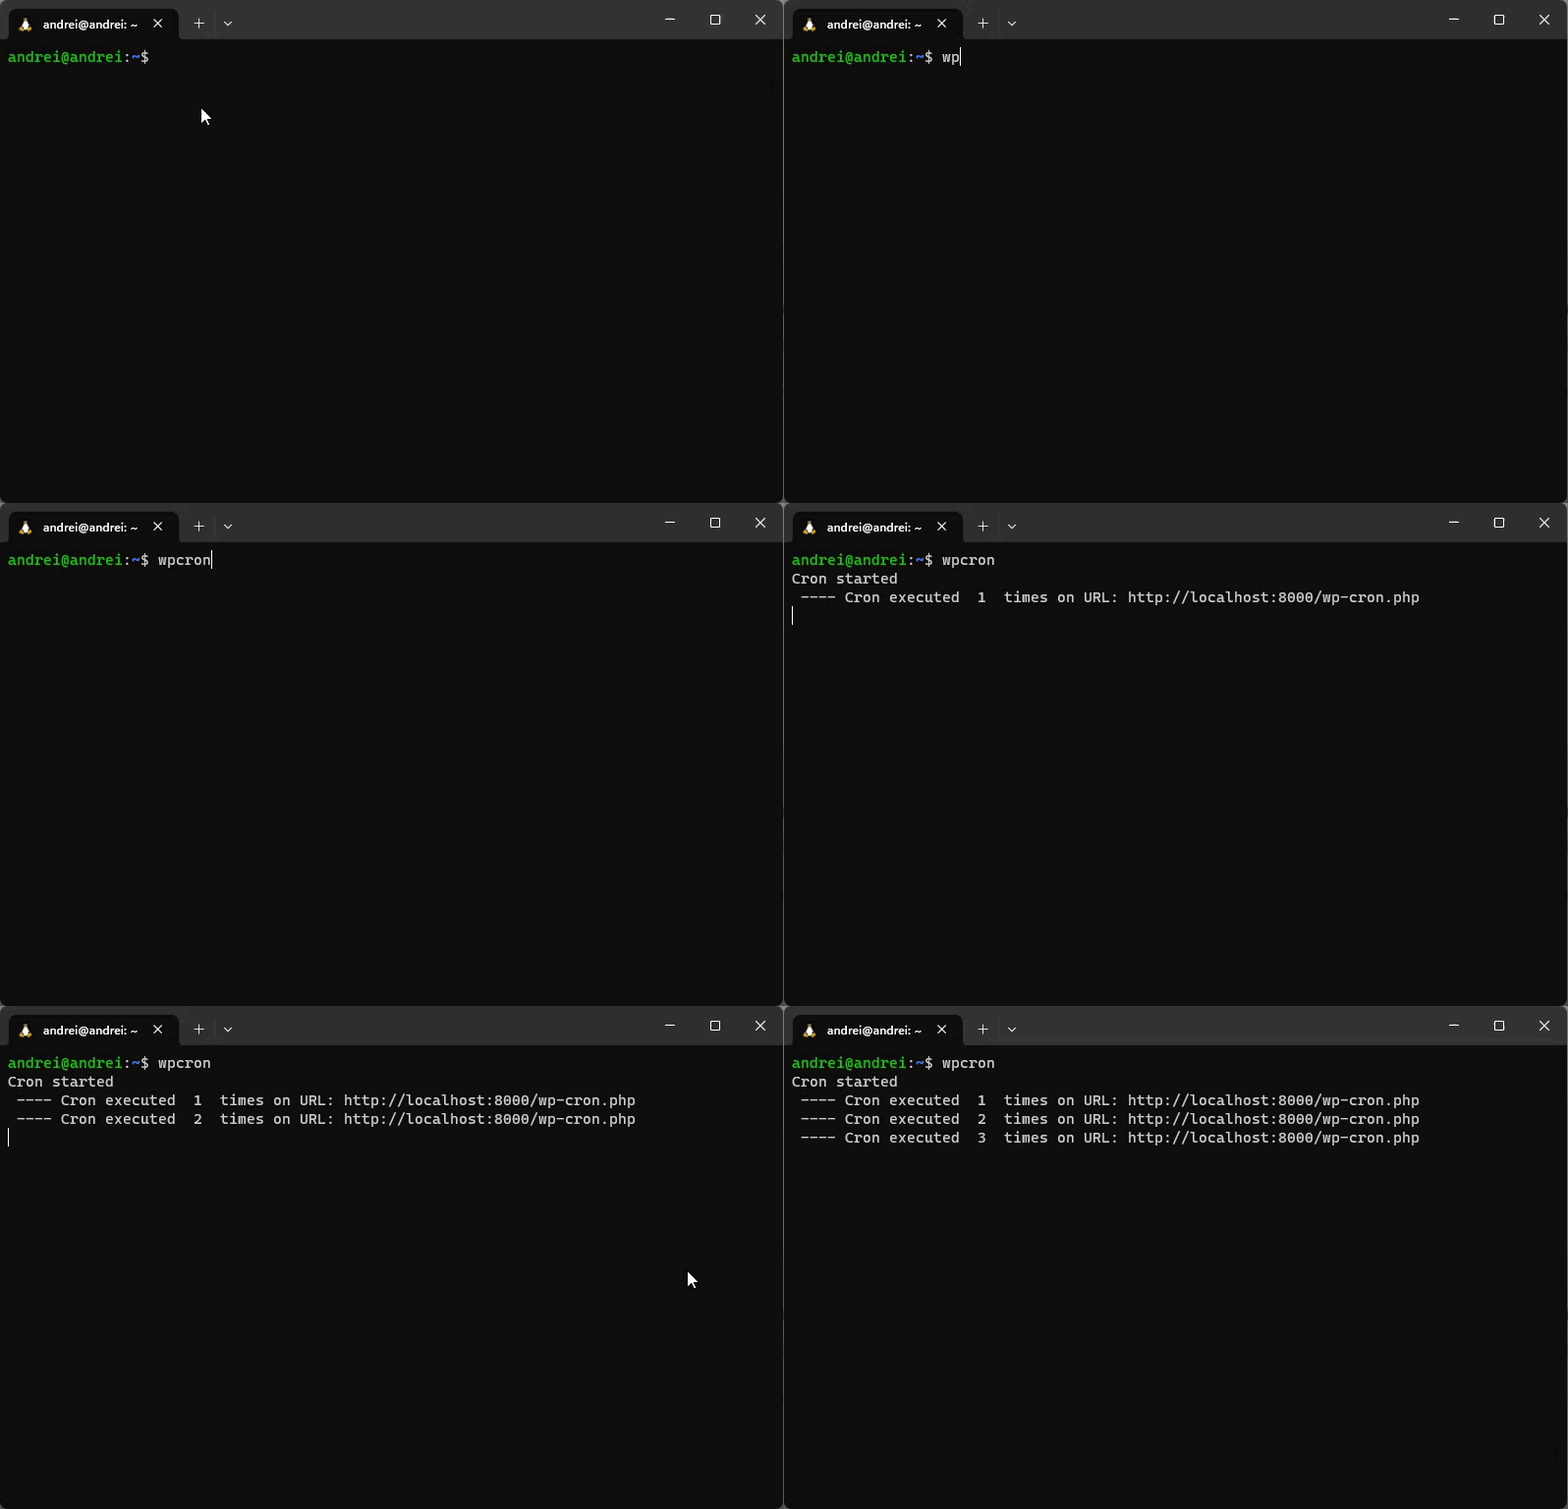
With the script in place, you can now use the wpcron function directly from your terminal to manage your WP-Cron jobs effectively. Here are some usage examples:
# Run with default settings
wpcron

# Specify a URL and run in console
wpcron -u example.com

# Specify a URL and port, and run in console
wpcron -u example.com -p 8080

# Specify an interval and run in console
wpcron -u example.com -i 15

# Run in the background
wpcron -u example.com -b

# Use HTTPS
wpcron -u example.com -s

# Specify URL, port, interval, run in background, and use HTTPS
wpcron -u example.com -p 8080 -i 15 -b -s

# Kill all running wpcron processes
wpcron -k/
Testing local WP Cron
To ensure your WP Cron tool is functioning as expected, you can schedule a task in WordPress and monitor its execution. For instance, schedule a post to be published a minute or two from the current time. Run the WP Cron tool, and you should see your post published at the scheduled time, indicating that the WP Cron tool is executing the cron tasks.

Conclusion
Congratulations! You now have a WP Cron Ping tool set up for your local WordPress development. This tool will help improve the reliability of task execution in your local environment and make your development process much more efficient.
Remember, understanding and manipulating core functionalities like WP Cron can give you a significant advantage in your WordPress development journey. Keep exploring, keep learning, and don’t be afraid to experiment with scripts and tools to make your life as a developer easier.
Happy coding!
Comments
Share your thoughts and join the conversation
No comments yet
Be the first to share your thoughts!
Failed to load comments
Please try refreshing the page
Leave a Comment